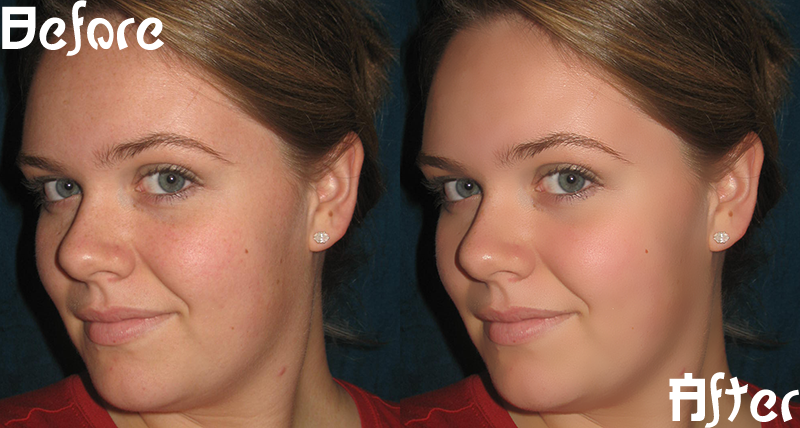
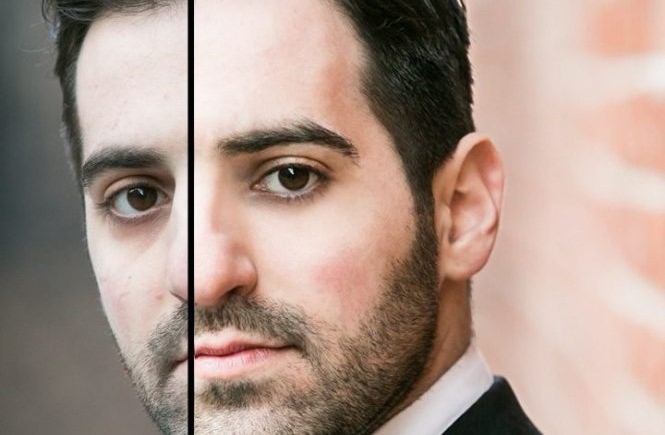
Living in the entertainment city of the world, it is possible you will need a headshot for auditions or your job on a corporate website. If you will want that shot to be the best possible while looking like you. Ideally, you have to hire a professional photographer and leave the retouching to the pros, but for those who can not afford it or want to learn a few Photoshop tips to improve their headshots or portraits.
There is some step for headshot photo retouching.
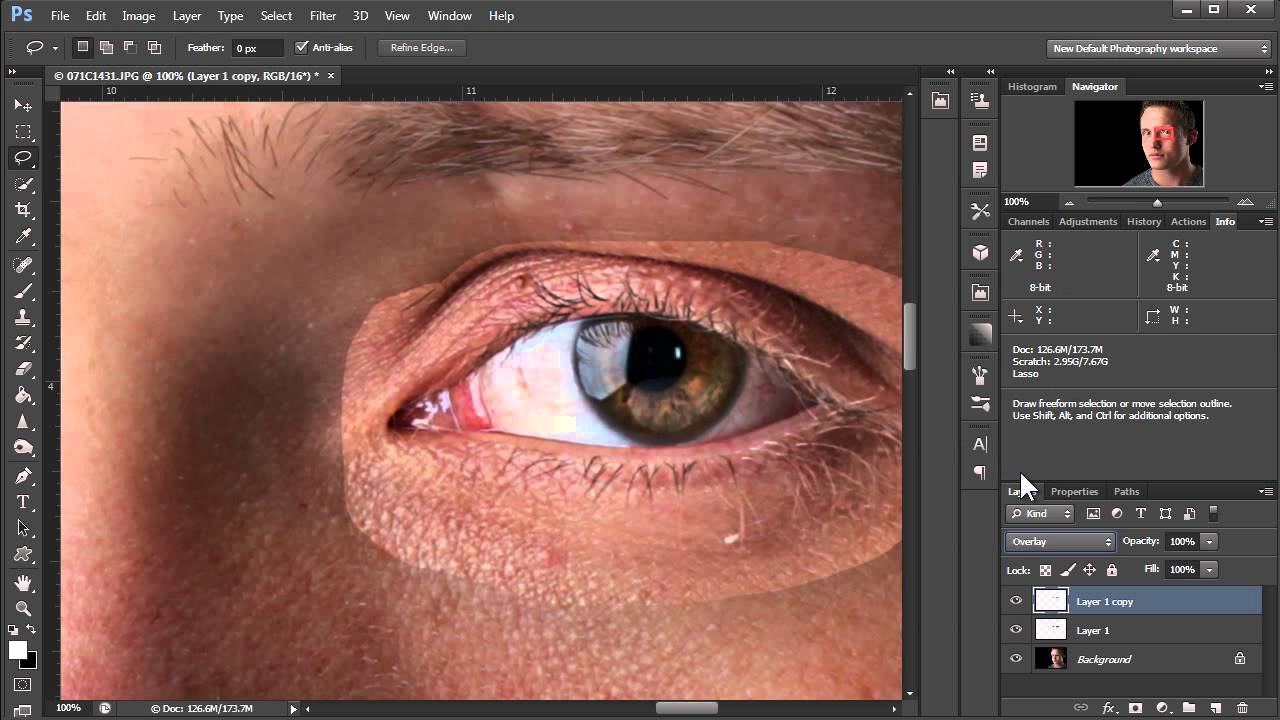
The Eyes Sharpen
The eyes catching are apparently the most important feature on a person’s expression. You have to take care to emphasize them but do not over to it. Design a new blank layer and identify it Eyes Sharpen. You can use the new Sharpen Tool in version CS6 or CC; this is located below the Eraser tool. In the Options bar at the top, be assured two boxes are checked with Protect Detail and Sample All Layers, then you have to set the strength about 20%. On this way, build up the adjustment as you paint up the iris with the Sharpen tool. The eyes are on their layer now you can also adjust the darkness in the Layers panel if you want to lessen the effect.
Remove Blemishes & Smooth Skin
You have to use the Healing brush tool, and the Spot Healing Brush also zap those zits. Then you have to position the brush over the spot you want to erase and “L” click. Most of the women look better with softer skin and men to look better with clearer, more rugged skin for those.
Redness
Color Variation is very popular for people’s Skin, and it is just a slight red tone that needs for fixed. To target Skin tone, you have to create a new Hue or Saturation layer and turn your table from Master to Reds. Crank the Hue and Soaking up to a stupid bright color. You should notice red blotchiness of the skin presenting through a different color. Then slide the bottom slider that it fills in these areas with green. Then, change the Hue and Saturation to zero you have to drag the Hue slider to counteract the red.
Background Modifying
In few times, the camera can be capture dust or specks in the background. When it comes at headshots, all the attention be on the face of the subject. The background should remain simple and fresh so as not to divert the viewer’s attention away from the face. To remove any undesired specks or dust particles, editors use the Patch Tool located on the program’s toolbox, located at the left most of the screen. First, select the area to be edited, then select a comparable area nearby which will be used to patch over the area being edited.
The most important lesson is not to be too heavy-handed with the retouching. Keep your subject looking natural and control a character of changes in your layers by using the opacity slider. When in doubt, lower the opacity less is more.
Creative, skilled & accomplished writer, Designer with diverse knowledge.
Content designer: Urdhe